Part of our Roof Lantern Installation service
How a Roof Lantern Is Installed: Step-by-Step in Cheltenham
A clear, step-by-step look at how a roof lantern is fitted — from survey and kerb to glazing and weatherproofing — so you know exactly what to expect.

A roof lantern is installed in a logical sequence: survey, prepare the kerb, assemble and fix the frame, glaze, then weatherproof and finish. Done correctly, it is a clean, watertight job that transforms a room. This step-by-step guide shows what a quality installation involves so you know exactly what to expect.
A roof lantern looks like a complex structure, and it is a precise job, but the process is methodical. Understanding the steps helps you see why careful installation matters at every stage — and why corners cut early lead to problems later.
Fitting lanterns on Cheltenham and Cotswold homes
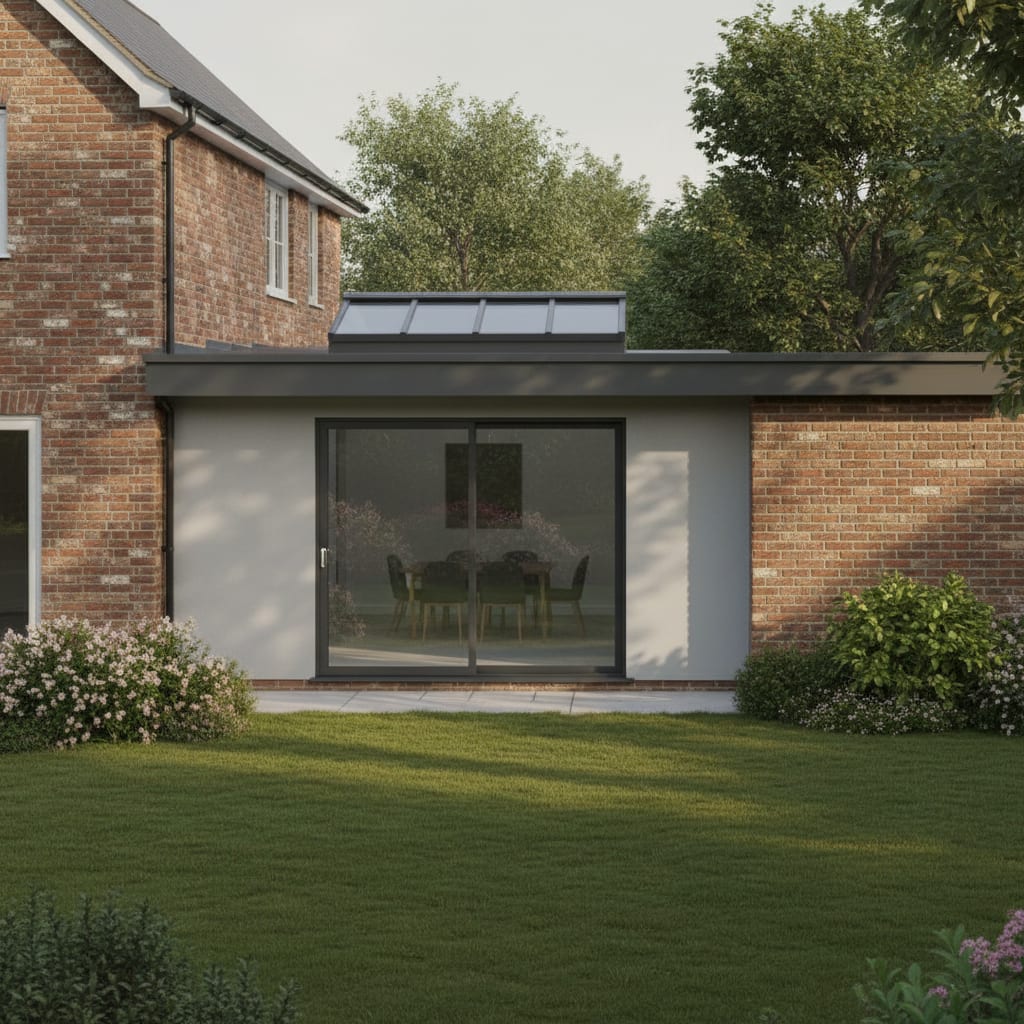
We install roof lanterns right across Cheltenham, Gloucester and the Cotswold villages, and no two jobs are quite the same because no two homes are. A lantern over a brand-new flat-roof kitchen extension in Charlton Kings, where the builder has just formed a clean square opening, is a very different proposition from retrofitting one onto an older extension in a Cotswold village where the roof has settled over the years and the opening needs squaring up first. Access varies too: a town-centre terrace with a narrow side return calls for careful planning to get a large glazed unit safely to the roof, while a detached house with open garden access is more straightforward. We work all of this out at the survey, so that by the time we arrive to fit, there are no surprises and the day runs smoothly.
Step 1: The survey
Everything starts with a free survey. We assess the roof, the opening or proposed opening, the structure, access and your glazing preferences. We confirm the lantern size, whether a kerb already exists or needs forming, and any structural considerations. This is where we agree the specification and give you a fixed written quote, so there are no surprises on the day. See our roof lantern installation page for the product detail.
Step 2: Preparing the opening and kerb
A roof lantern sits on a raised kerb, or upstand, that lifts it above the roof surface so water drains cleanly away. If your builder has formed an accurate kerb during the extension, we work to that. If not, we supply and fit an insulated upstand sized precisely to the lantern. The kerb is the foundation of the whole installation — if it is sound, square and correctly sized, everything above it sits right and stays watertight.
Step 3: Fitting the base frame
The lantern’s base frame is fixed securely to the top of the kerb, bedded and sealed so the junction is weathertight. Getting this base level and square is essential, because the rafters and glazing all reference off it. We take the time to make sure it is true.
Step 4: Assembling the lantern framework
The aluminium rafter bars and ridge are assembled onto the base frame, building up the pitched, faceted shape of the lantern. Larger lanterns have more rafter bars for strength and to support the additional glazing. The framework is engineered to carry the glass and shed water, with slim sightlines that keep the structure elegant and the light generous.
Step 5: Glazing
The sealed glazing units are lifted into place and secured into the framework. We handle the glass carefully — the panes are heavy and the seating must be precise. Your chosen glazing goes in here, whether standard double glazing or an upgrade such as solar-control, self-cleaning or triple glazing. Our flat-roof skylight installation page covers glazing options that apply across our rooflights too.
Step 6: Weatherproofing and flashing

With the glass in, the lantern is sealed and flashed where it meets the kerb and roof covering. This is the detail that keeps it watertight for the long term. Gaskets, seals and flashing are fitted carefully so water runs off and away, never toward the joints. A correctly weatherproofed lantern on a sound kerb should not leak — this stage is where that promise is kept.
Step 7: Finishing and clean-up
Finally, we check the lantern over, make sure every seal is sound, clean the glass, and tidy the site. Where the installation involves internal reveals or plaster, those are made good or coordinated as agreed. You are left with a finished, watertight lantern flooding the room with light.
How long does it take?
A straightforward lantern on an existing, accurate kerb can often be installed in a day or so. Forming a new upstand, structural work or difficult access adds time. We confirm a realistic timescale in your fixed written quote after the survey.
Replacing a tired lantern or rooflight
Not every lantern job is a fresh installation. Plenty of the extensions built across Cheltenham and Gloucestershire over the past few decades have lanterns or rooflights that are now misting, draughting or letting water in, and homeowners assume a like-for-like swap will be disruptive. In practice, because the opening and kerb are already there, replacing an old lantern with a modern, better-insulated unit is often quicker and cleaner than the original installation was — we lift out the spent unit, make good and reseal the kerb where needed, and fit the new lantern with proper flashing to current standards. The room gains far better insulation and a watertight finish, usually in a single visit. Our skylight replacement service covers this end to end, and our flat-roof skylight installation page shows how we detail the kerb and weatherproofing.
Why each step matters
A roof lantern is only as good as its installation. A sound kerb, a level base frame, careful glazing and precise weatherproofing are what deliver decades of trouble-free, watertight performance. Skip or rush any of these and you risk leaks, draughts or a unit that ages early. That is why we treat every stage with care — and back the result with our written guarantee on our workmanship.
Ready to go ahead?
Get a quote and we will survey your roof, confirm the specification and give you a fixed written quote, then install your roof lantern to the standard described here, backed by our written guarantee on our workmanship.
From quote to daylight, with no surprises
Fixed quote
A clear, fixed written price — online or by phone.
Survey
A specialist confirms the right glazing spec. Flexible times.
Install
Clean, weather-tight fitting that protects your property.
Guarantee
We tidy up and back the work with a written guarantee.
Frequently asked questions
How is a roof lantern installed?
In a logical sequence: a survey, preparing the kerb or upstand, fixing the level base frame, assembling the aluminium framework, glazing, then weatherproofing and finishing. Each step builds on the last, with the kerb and weatherproofing being key to a watertight result.
How long does it take to install a roof lantern?
A straightforward lantern on an existing, accurate kerb can often be fitted in a day or so. Forming a new upstand, structural work or difficult access adds time. We confirm a realistic timescale in the fixed written quote after survey.
Do I need a kerb for a roof lantern?
Yes. A lantern sits on a raised kerb that lifts it above the roof so water drains away. If your builder has formed one accurately we work to it; if not, we supply and fit an insulated upstand sized to the lantern.
What keeps a roof lantern from leaking?
A sound, correctly sized kerb, a level base frame, careful glazing and precise flashing where the lantern meets the kerb and roof covering. A correctly weatherproofed lantern on a sound kerb should not leak.
Can a roof lantern be installed on an existing extension?
Yes, provided the roof and structure suit it. We assess the existing roof, opening and structure at survey, confirm whether the kerb needs forming, and give you a fixed written quote before any work begins.
Helpful reading on this
Costs, comparisons and answers to the questions we’re asked most.
Other skylight services
Ready to bring the daylight in?
Tell us about your project and we’ll send a clear, fixed written quote — no pressure, no surprises.
- Fixed written price before any work starts
- No pressure, no obligation, no sales calls
- Flexible survey times that suit you
- A reply within one working day